

Polvorones
BY Alex López Negrete

Ingredients
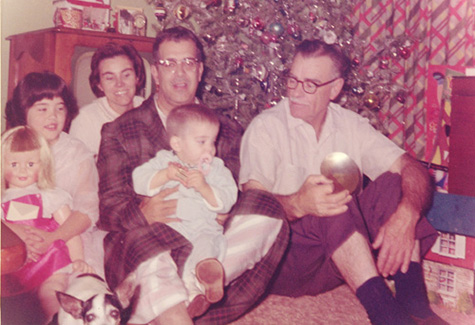
Polvorones are usually referred to as “Mexican Wedding Cookies,” which I never really understood, because I saw (ate) those everywhere BUT at weddings. Go figure. In any case, when I was growing up, it seemed like it was during Christmas when these delicious, bite-sized, messy little cookies made their magical appearance most. Trays of them. Everywhere. And, of course, as a kid, I was more than happy to help relieve my mom (and the rest of the family) of them. One at a time. On my way here, there, or anywhere. Gulp. Gone. They really are deliciously light and bite-sized. And, hey, they make a great gift. Buy a pretty platter, make a batch, wrap them in Saran Wrap, plop a bow on it – and bam! Be sure to keep a few for yourself, though. Your young ones will appreciate having Polvorones around. Trust me.
Alex López Negrete
P.S. You all know I can’t cook. I can bartend. Not cook. So, I need to give credit where credit is due. This recipe is courtesy of Marcela Valladolid.
(for a batch of about 4 dozen, depending on the size you make them)
1 ½ cups of walnuts
2 sticks of unsalted butter, room temperature
½ cup of granulated sugar
2 cups of all-purpose flour
½ cup of confectioners’ sugar, plus some extra for serving and decoration
Ground cinnamon, also for decoration and dusting (optional)
A pinch of fine salt
- Put ½ cup of the walnuts and the pinch o’ salt in the food processor and pulse until it’s finely ground.
- Separately, chop the remaining (1) cup of walnuts. Not TOO fine. You need the texture.
- Position two oven racks in the upper and lower thirds of the oven and preheat to 325 degrees Fahrenheit.
- Beat the butter in a large bowl with an electric mixer on medium-high speed until smooth, for about 2-3 minutes.
- Add the granulated sugar and beat until light and fluffy, for about another 2 minutes.
- Scrape down the sides of the bowl.
- Beat in the flour, then the ground and chopped walnuts.
- Divide the dough in half, forming each half into a ball.
- Wrap the halves separately in plastic and chill until cold, 30 minutes.
- Put the confectioners’ sugar in a large bowl, separately.
- Working with half of the chilled dough at a time, and keeping the rest in the fridge, roll about 2 teaspoons’ worth of the dough between your palms, into little balls. Then, do the other half.
- Arrange the balls of dough on a large baking sheet, spacing them about ½ inch apart.
- Bake the cookies until golden brown on the bottom and pale golden on top, about 18 minutes.
- Toss the warm, baked cookies in the confectioners’ sugar bowl you have ready. Then, transfer the sugar-coated cookies onto a rack to cool off.
- The cookies can be prepared up to 2 days ahead. Once cooled, store them in an airtight container. You need to make sure they’re cooled off before storing them; otherwise, they’ll get soggy. Once you “platter” them, dust the additional powdered sugar and cinnamon (if you like cinnamon) over the cookies before serving, gifting, or eating. Or all three.